Wednesday, February 13, 2013

Screen Print VI: My Poster

Photo by Chris "Nova" Smith 
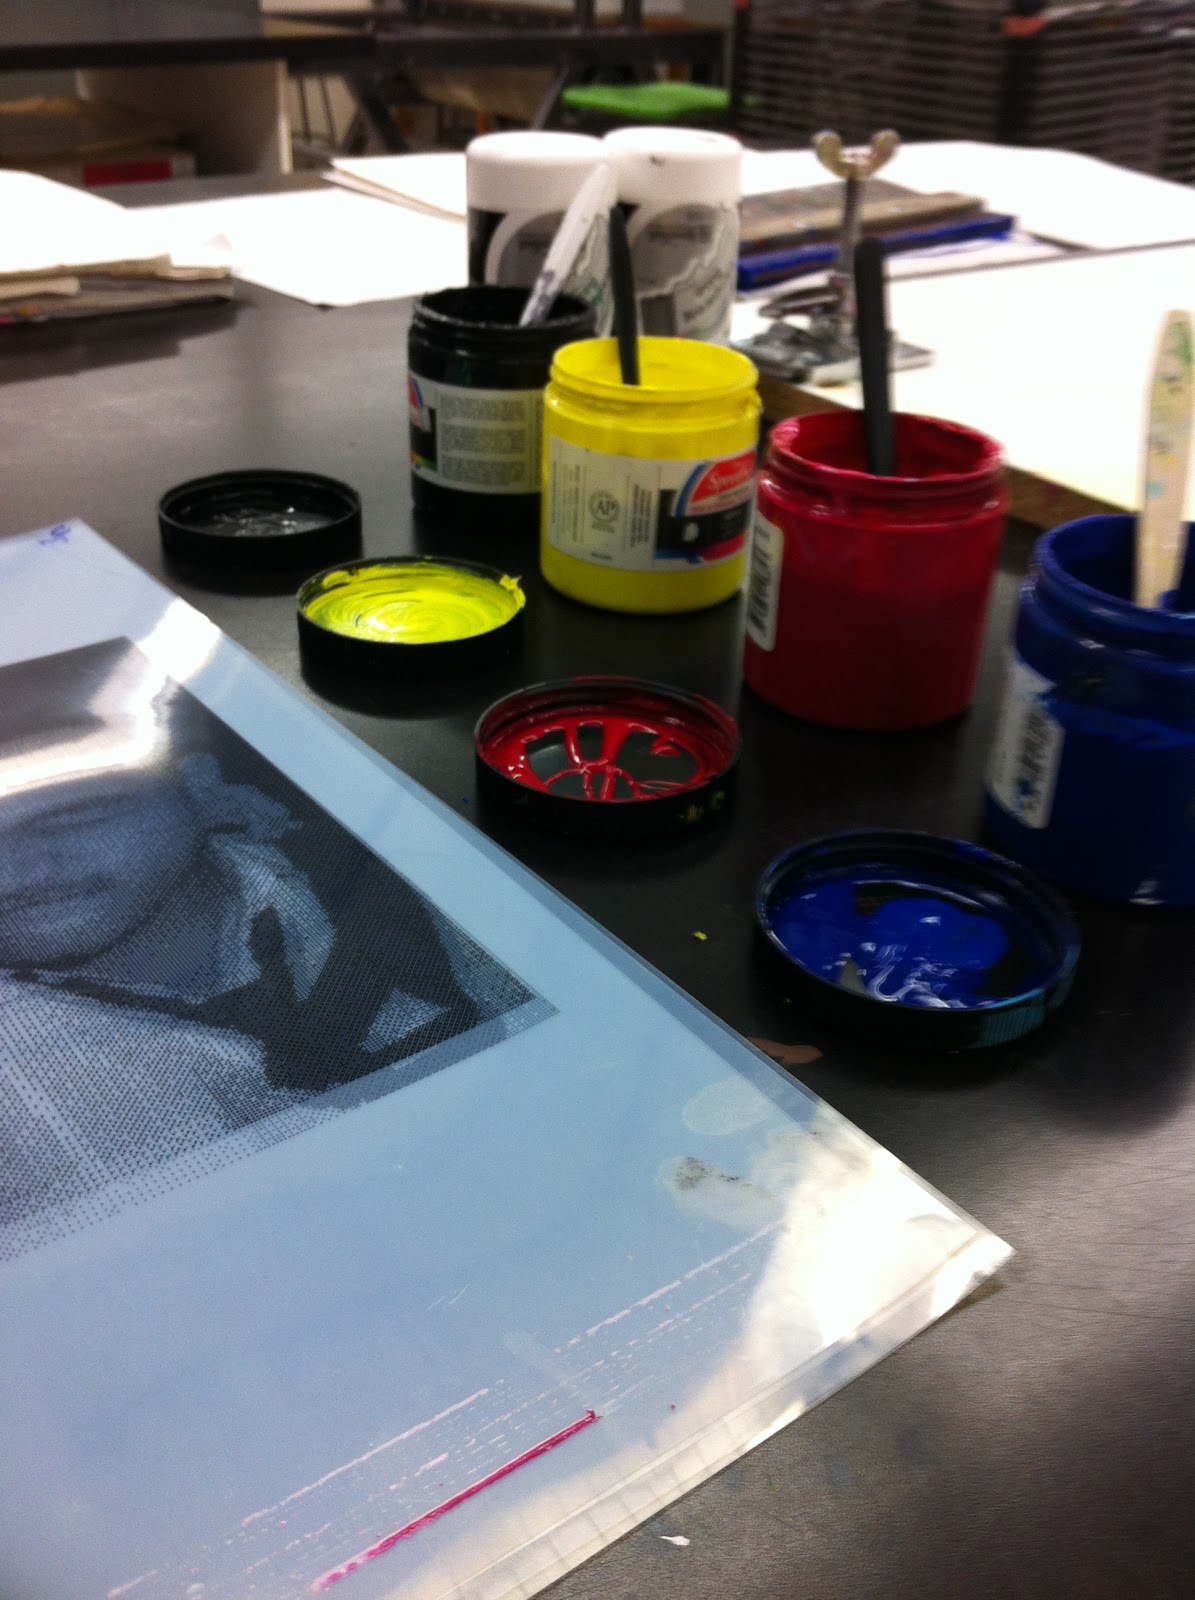
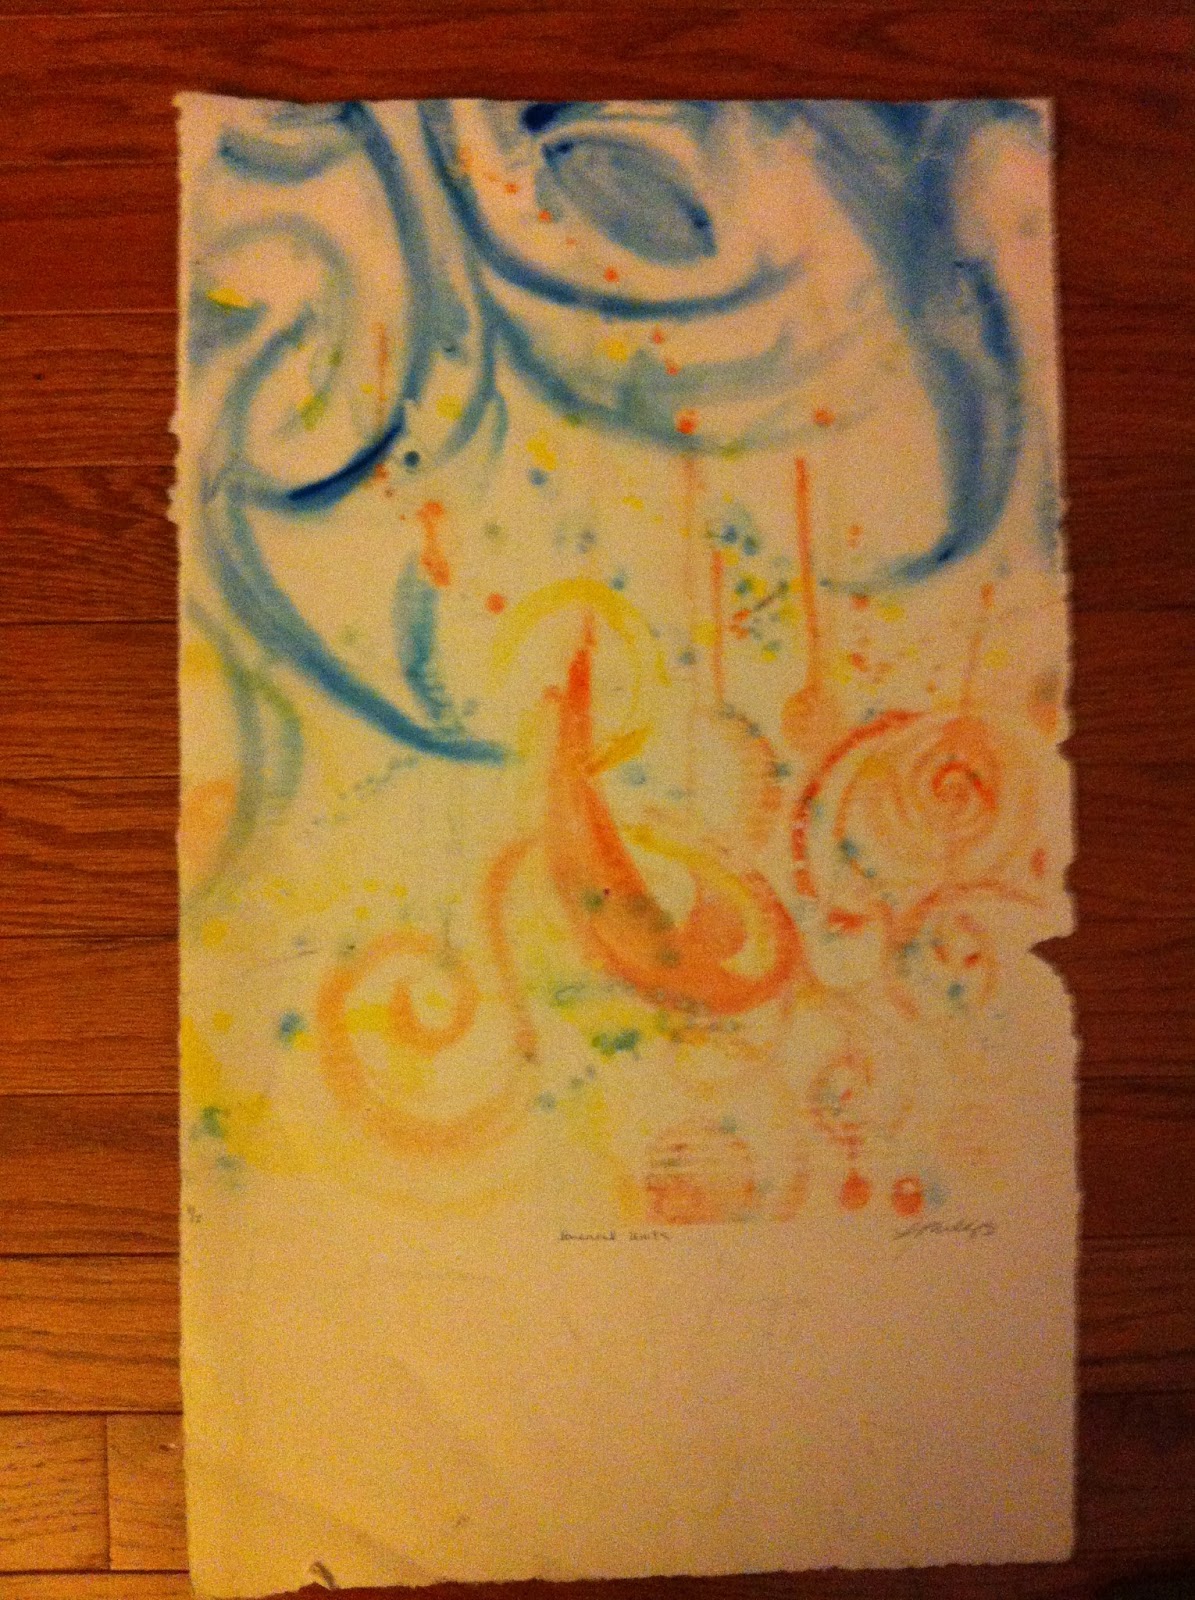
The final screen print I did ended up deviating from the "portrait" series. I decided to make a poster tha could be used for my growing collection of dresses. I named this collection Salvation Couture. As I was printing the monotypes the image changed and colors mixed and by the end I couldnt choose a favorite so I kept them all. 

The First Monotype

Second Monotype

Third Monotype, changed the colors

Forth Monotype, at this point things go a lil messy 

Thursday, February 7, 2013

Screen Print V: Nova

This is Nove a.k.a Chris. I remember when he showed up at TU with his "Bolt Hawk" skinny and skinny jeans. Stephann found him at the BSU cookout and the rest is history. On this particular night in this particular picture I just told him "you know I love you right, like you know if these hoes are bothering you or if they bother you in Cali, I know you wont fight a girl but I drop her for you." Or well I said something along the lines of that lol 
CMYK (layering of the primary colors & black)

My four layeer as well as the inks I was usuing all preped

K,Y.M.C...In that order. lol

Layer 1-C


Layer 1&2-CM
Top left-Finsished CMYK
Bottom left-Layers 1-3 CMY
Right Layers 1&2-CM

Tuesday, February 5, 2013

Screen Print IV: Foster

Oh Frosty. 
This is Foster, and yes that is his real name. This is us at this Toga party me and  my cousins hosted the beginnign of my last year at Towson. I don't remember what he said before we took this picture but it was, as usual, HILARIOUS. 

The text transparencies.
Layer 1 

After adding the second layer, achieved by exposing fabric on my silk screen instead of using a transparence. 

Layer 3 achieved by exposing a different fabric then the one iused in layer 2.

The Finished Print. With the "Foster's" beer can addition. 


Monday, January 28, 2013

screen Print III: Monotypes


The Ghost print of the "Mommy" print I made with added drawing detail. 
Mono- meaning one. 

The silk screen can also be used with watercolor and a clean medium to create monotypes. With these print I stayed with my theme of  "pottraits" 

DezzyBee
Felicia 

Mommy, Parental Units 

Parental Units 

Monday, January 7, 2013

Screen Print II: Stephen

The original crappy one & the revised good one. 
This print was a "portrait" of my Bestie Stephen. 
Took this right after I gave him that friendship bracelet. 

Layer 1

layers 1-3


When I realized these were gonna be terrible but needed to finsh them anyway.

After being told tp re-do the print, I decided to make and additional layer.
The additonal layer I added had a message to Stephen that I was too embrassed to say to him at the time. It was really personal and full of meaning but in the design of this particular print you can't actually read the meaagae. It becomes more of a pattern then a message. 


Finished Series, Pt 2 


Saturday, January 5, 2013

Screen Print I : King Loaf


Learned how to do screen printing during my last year. I thought it was gonna be really difficult but after I got the hang of it I really enjoyed it. 
The exposure unit. After u emolsion your screen you expose your image  on this machine. 

My screen set up for a print.
I decided to do a series of print that were "portraits" of people in my life. This first one was for Mike aka King Loaf as he is named in my phone. Hints why his portrait was a LOAF of bread, The King Loaf. lol. 

Layer 1


Layers 1-3

"finished" 
 
The original and the revised print after I found my knack for text in my art work. 
The text I later added, after sucessfully using text on almost the rest of this series was a personall note to Mike. When I made the print we were dating and by the time I finished the series we were just friends again. To  this day I haven't told him what it says or let anyone read the note. 

Wednesday, December 26, 2012

Stained Glass Window.

Took a staine glass class for fun before I graduated.

The Initial Sketch with color

The sketch transfered to the contact paper and cut out. 

After some revisions and cutting out all the pieces twice, it fit  properly. 

After all the pieces were foiled and cleaned, soldering began. 

The finished window.